Drywall sanders are powerful tools designed for efficiently smoothing walls and ceilings, offering superior finishes and faster results compared to traditional sanding methods. Ideal for both new construction and renovation projects.
Overview of Drywall Sanders
Drywall sanders are specialized power tools designed to efficiently smooth drywall, plaster, and painted surfaces. They feature adjustable speed controls, allowing users to tailor sanding operations to specific materials and tasks. These tools often include interchangeable sanding heads, dust collection systems, and ergonomic handles for improved comfort during extended use. Ideal for both professionals and DIY enthusiasts, drywall sanders save time and effort compared to manual sanding methods. Their versatility makes them suitable for large surfaces, such as ceilings and walls, ensuring a professional-grade finish. Modern models emphasize lightweight designs, high power, and ease of operation, making them indispensable for construction and renovation projects.
Importance of Using a Drywall Sander
Using a drywall sander is essential for achieving smooth, professional-grade finishes on drywall and plaster surfaces. It significantly reduces the time and effort required compared to manual sanding, making it a must-have tool for both professionals and DIY enthusiasts. The sander’s ability to cover large areas efficiently ensures consistency and precision, eliminating imperfections like joint compound ridges and sanding marks. Additionally, many modern drywall sanders come with dust collection systems, reducing airborne particles and creating a cleaner work environment. This tool is particularly valuable for ceilings and high walls, where manual sanding would be labor-intensive and less effective. Its ergonomic design also minimizes fatigue, allowing for extended use without discomfort. Overall, a drywall sander is indispensable for achieving flawless results in construction and renovation projects.
Safety Warnings and Precautions
Always read the manual carefully before use, ensuring mains voltage matches the tool’s specifications; Avoid operating in wet conditions or near flammable materials to prevent hazards.
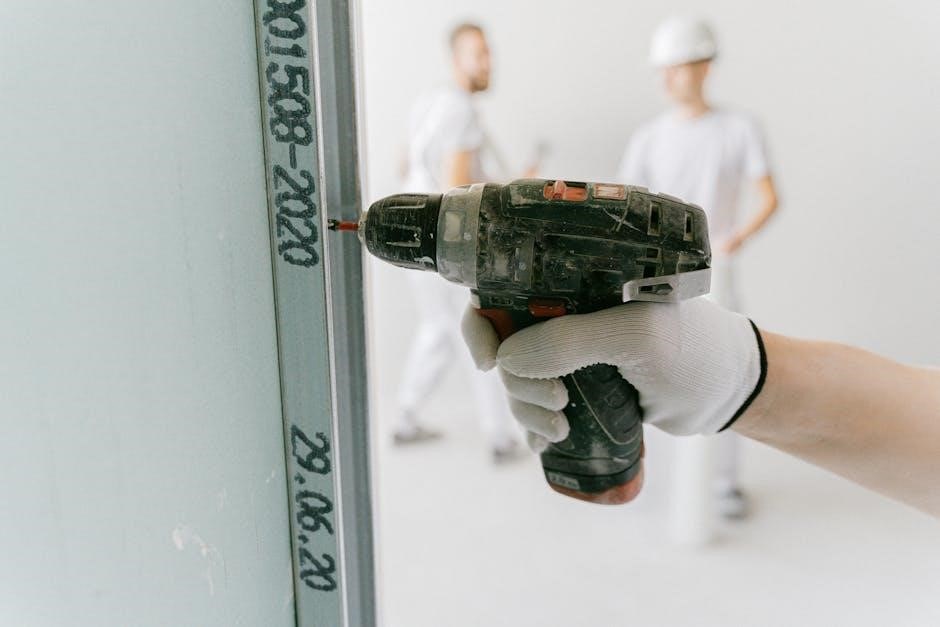
Keep children away and wear protective gear, including gloves and goggles. Regularly inspect the tool for damage and ensure proper maintenance for safe operation.
General Safety Guidelines
- Always read and understand the manual before using the drywall sander to ensure safe operation.
- Disconnect the power source before performing maintenance or repairs.
- Ensure the mains voltage matches the tool’s specifications to avoid electrical issues.
- Avoid using the sander in wet conditions or near flammable materials.
- Keep children and unauthorized individuals away from the tool.
- Wear protective gear, including gloves, safety goggles, and a dust mask.
- Regularly inspect the sander for damage or wear and tear.
- Follow all safety warnings and instructions provided by the manufacturer.
- Ensure proper ventilation to prevent dust inhalation.
- Store the tool in a dry, secure location when not in use.
Adhering to these guidelines ensures safe and effective use of the drywall sander.
Specific Safety Instructions for Drywall Sanders
Always ensure the sander is disconnected from the power source before changing sanding heads or performing maintenance. Use the tool only for its intended purpose—sanding drywall or plaster surfaces. Avoid applying excessive pressure, as this can damage the sander or the wall. Keep loose clothing and long hair tied back to prevent entanglement. Never sand in areas with exposed wiring or open flames. Use a dust extraction system to minimize dust and debris. Regularly clean the sander and ensure all parts are securely attached. Follow the manufacturer’s guidelines for speed settings and sandpaper usage. Proper handling and adherence to these instructions will enhance safety and tool longevity.

Technical Specifications of Drywall Sanders
Drywall sanders feature variable speed controls, lightweight designs, and adjustable sanding heads for efficient smoothing of walls and ceilings, ensuring precise results in construction and renovation projects.
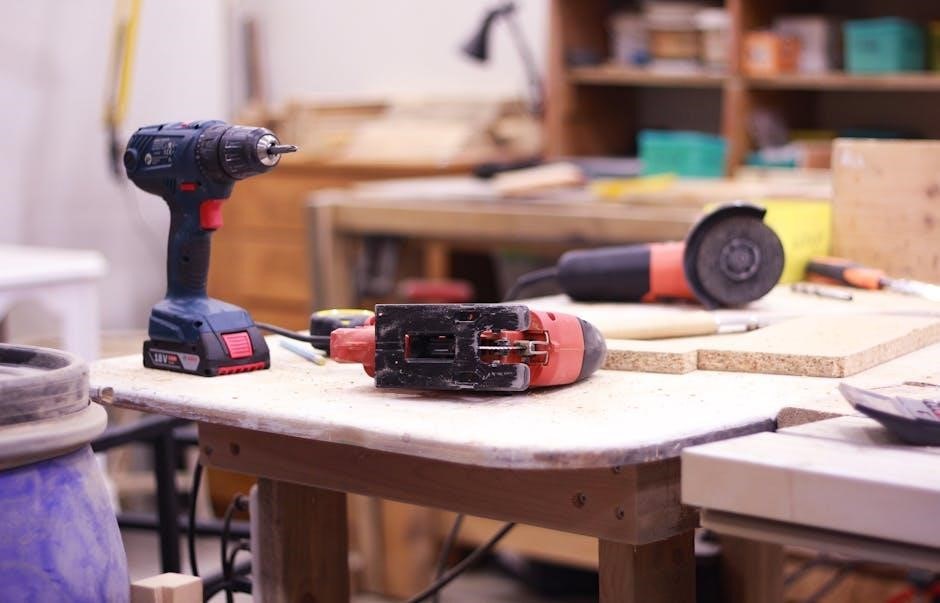
Key Features and Components
Drywall sanders are equipped with variable speed control, allowing users to adjust RPM for different surfaces. They feature lightweight, ergonomic designs for reduced fatigue and better maneuverability. The articulating sanding head enables smooth operation on both walls and ceilings, while the round sanding head is ideal for drywall seams. Many models include dust extraction systems or compatible ports for vacuums, minimizing dust and debris. Additional components like extension tubes and flexible hoses enhance reach and versatility. These tools often come with multiple sanding pads and adjustable handles for customized use. High-power motors ensure efficient sanding, making them suitable for both professional and DIY projects. The combination of these features ensures precise, efficient, and safe sanding experiences for various applications.
Speed Control and Operational Capabilities
Drywall sanders feature variable speed control, allowing users to adjust the RPM for different tasks. This ensures optimal performance for both rough sanding and fine finishing. The speed wheel enables easy adjustments, typically ranging from 600 to 1500 RPM. These tools also include constant speed control, maintaining consistent operation even under load. The articulating head allows for smooth sanding in both vertical and overhead positions, making them versatile for various surfaces. Many models offer adjustable handles and ergonomic designs for comfortable use over extended periods. With their high-power motors and flexible sanding heads, drywall sanders are capable of handling large areas efficiently, ensuring professional-grade results for walls, ceilings, and other surfaces.
Assembly and Initial Setup
Begin by unpacking and inspecting the sander for damage. Attach the sanding head and dust extraction accessories as per the manual. Ensure all components are secure and properly aligned before use.
Unpacking and Inspecting the Sander
When unpacking your drywall sander, carefully remove all components from the box and inspect for any damage or missing parts. Ensure the sander, dust extraction hose, and sanding heads are included. Visually examine the tool for signs of wear or damage, such as dents or loose connections. Check the power cord for integrity and ensure all accessories are accounted for. Refer to the manual to confirm the completeness of the package. Before initial use, verify that all components are securely attached and functioning properly. This step ensures safe and efficient operation, preventing potential issues during sanding. Always follow the manufacturer’s guidelines for assembly and inspection to maintain warranty and safety standards.
Attaching Accessories and Sanding Heads
To attach accessories and sanding heads, begin by aligning the sanding head with the sander’s base. Secure it firmly using the locking mechanism provided. Ensure the head is tightly fastened to prevent movement during operation. Next, attach the dust extraction hose to the designated port on the sander, making sure it is securely connected to minimize dust dispersion. For sanding heads, use the provided clips or Velcro to fasten the sandpaper, ensuring it is centered and evenly aligned. Always refer to the manual for specific attachment instructions, as designs may vary. Properly securing all accessories ensures safe and efficient sanding, while also maintaining the tool’s performance and longevity.

Operating the Drywall Sander
Operating the drywall sander involves starting the tool, adjusting speed settings, and employing proper sanding techniques for smooth walls and ceilings.
Starting the Sander and Adjusting Speed
Before starting, ensure the sander is properly assembled and the sanding head is securely attached. Plug in the tool and turn it on, gradually increasing speed for optimal control. Use the variable speed control to adjust RPM, typically between 600 to 1500, depending on the surface and desired finish. Always start at a lower speed to avoid dust dispersion and gradually increase as needed. Maintain consistent movement to achieve an even surface. Keep the sander flat and avoid applying too much pressure, which can damage the drywall. For ceilings, work in sections, overlapping slightly to ensure full coverage. Regularly check the sanding head for wear and replace sandpaper as needed for best results.
Sanding Techniques for Walls and Ceilings
For walls, start at the bottom and work upwards, using long, even strokes to cover the entire area. Apply light to moderate pressure, ensuring the sander remains flat. For ceilings, sand in sections, overlapping slightly to maintain consistency. Use a side-to-side motion, moving across the ceiling in small, controlled passes. Always sand with the grain of the drywall seams to avoid scratches. When addressing edges or corners, reduce speed and use a gentle touch to prevent damage. Change sandpaper frequently to maintain effectiveness and achieve a smooth finish. Regularly vacuum dust and debris to improve visibility and ensure better results. Keep the sander moving continuously to avoid creating uneven surfaces.
Maintenance and Troubleshooting
Regularly clean the sander and store it in a dry place to prevent dust buildup. Troubleshoot issues like uneven sanding by checking for dust accumulation or worn sandpaper.
Cleaning and Storing the Sander
Cleaning and storing the drywall sander properly is essential to maintain its performance and longevity. Always disconnect the tool from the power source before cleaning. Use a soft brush or cloth to remove dust and debris from the sanding head and other components. Regularly inspect the sanding pads for wear and replace them as needed. Store the sander in a dry, cool place, away from direct sunlight and moisture. Ensure all accessories are securely packed to avoid damage. For extended storage, consider using a protective cover to prevent dust accumulation. Proper maintenance ensures the sander remains efficient and ready for future use.
Common Issues and Solutions
Common issues with drywall sanders include dust accumulation, uneven sanding, and motor overheating. To address these, ensure proper dust extraction is in use and regularly clean the tool. For uneven sanding, check sandpaper grit and replace worn pads. If the motor overheats, allow it to cool down and avoid excessive pressure. Other issues like vibration or noise may require balancing the sanding head or tightening loose parts. Always refer to the manual for specific troubleshooting steps. Regular maintenance, such as replacing worn components and lubricating moving parts, can prevent many of these issues. Proper care ensures optimal performance and extends the tool’s lifespan.
Final Tips for Effective Drywall Sanding
For optimal results, always follow safety guidelines and manufacturer instructions. Adjust the sander’s speed according to the surface type and material. Use dust extraction to minimize mess and ensure a cleaner environment. Apply light, consistent pressure to avoid damaging the drywall. Sand in sections, working from one area to another systematically. Avoid over-sanding, as it can create uneven surfaces. Clean the sander regularly to maintain its efficiency. Store the tool properly after use to prolong its lifespan. By adhering to these tips, you can achieve a smooth, professional finish for your drywall projects.